How to sign up for a ROCKET WIFI account

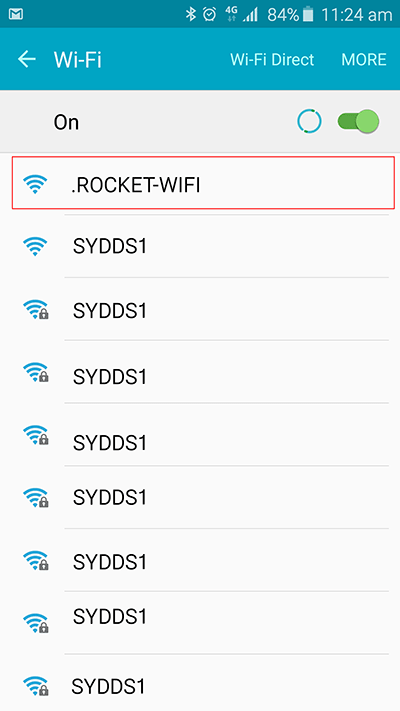
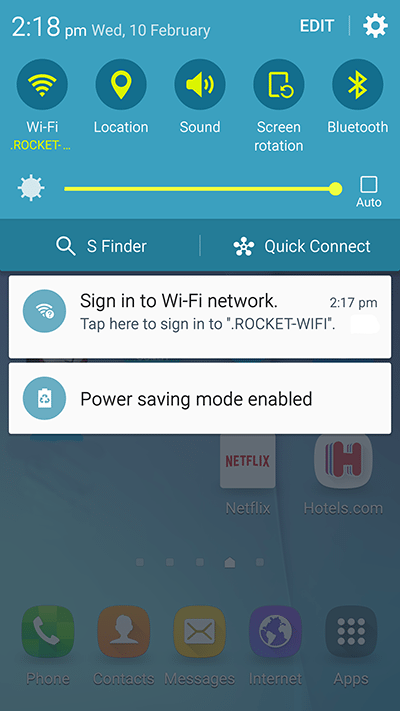
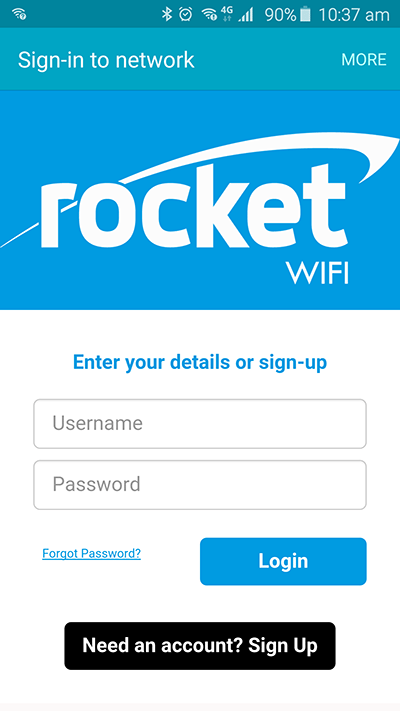
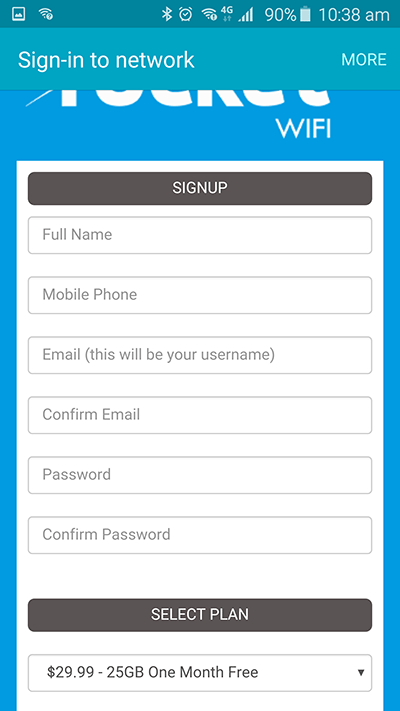
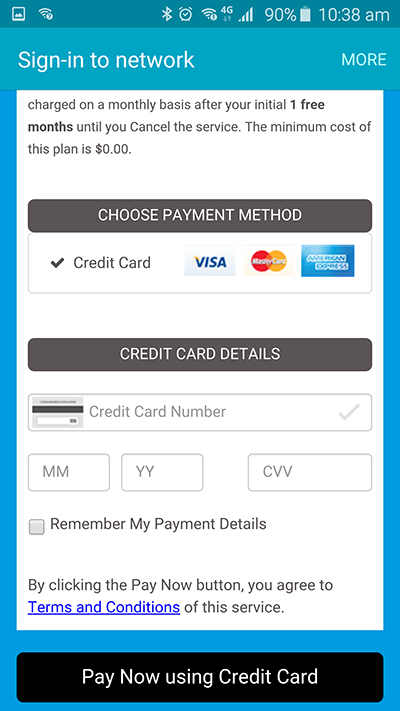
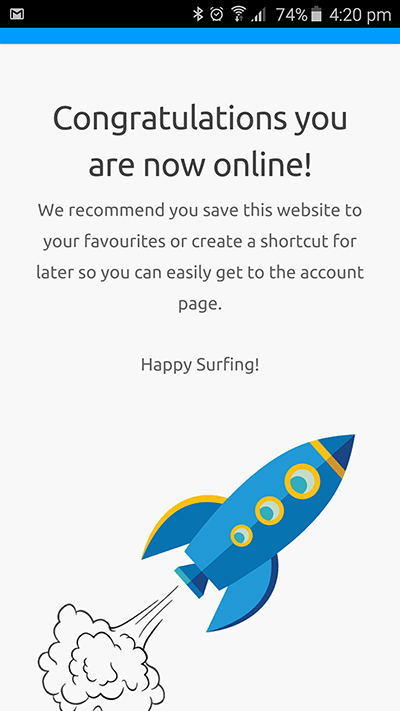
If you are at a Rocket WIFI enabled apartment building location and haven’t yet signed up, you can do so by following the 6 steps below.

Already signed up but have other questions please see the Support and FAQ page

STEP 1:

CONNECT TO WIFI 

1: On your Wireless capable device (Smart Phone, Tablet or computer), search for the open network name “.ROCKET-WIFI” via your wireless connection and connect to it.

STEP 2:

POP UP OR OPEN YOUR BROWSER

2: You may already see a pop up like this one requesting you to sign in. If you do not, try opening your web browser and surfing the internet until you get a pop up.

STEP 3:

SIGN UP 

3: You should now be prompted with the logon page. If it is your first time connecting and you don’t have an account, then click the black “Sign Up” button.

STEP 4:

ENTER YOUR DETAILS

4: Fill out the requested details about yourself and select a plan. NOTE: If you select the base $39.99 per month plan you will receive your first month for $1 and not charged the full rate until the start of the second month or if you update to the next size plan. A great way to see how it works.

STEP 5:

ADD PAYMENT DETAILS 

5: Fill out the credit card details with a valid credit card and click the “Pay now using credit card” black button at the bottom.

STEP 6:

CONFIRMATION PAGE AND EMAIL 

6: Once the payment is processed you should see this page, click on login to be automatically logged in as the user you just created. You should also receive an email to the registered email address.

ALL DONE:

EASY 

Congratulations, if you see this Rocket you are now online!